


Converto is a automated Kali Linux or Parrot OS installer for VPS, also installs VNC (Graphical / Non-Graphical VNC). It is tested on the following;
- Tested on Ubuntu
- Tested on Debian
Installing
sudo apt-get update
sudo apt-get install git
git clone https://github.com/developerkunal/Converto.git
cd Converto.
chmod +x converto.sh
./converto.sh
Also Read – XSSCon : Simple XSS Scanner Tool
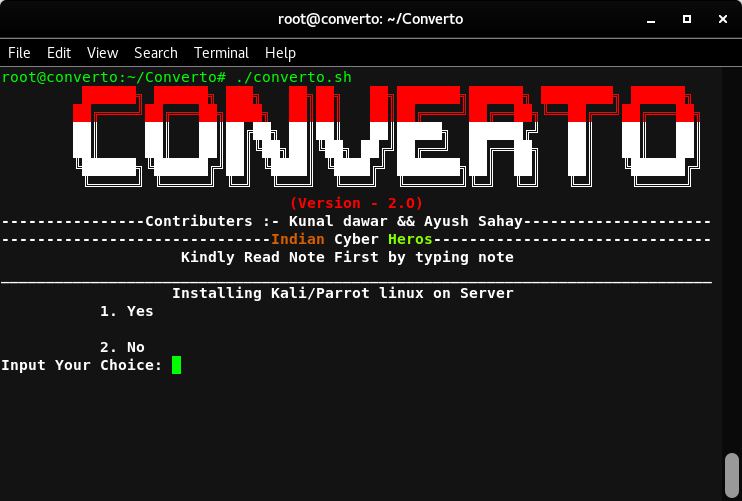
- Type 1 For Install
Type 2 For Exit
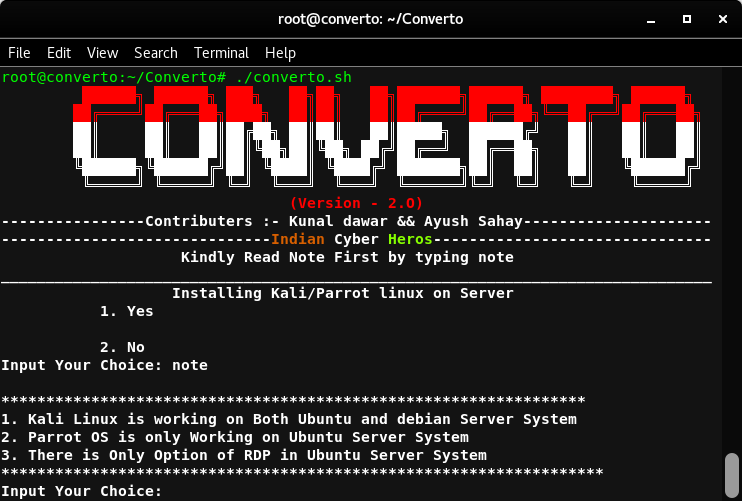
Type note For Reading Note(Recommended)
- Press 1 and Enter
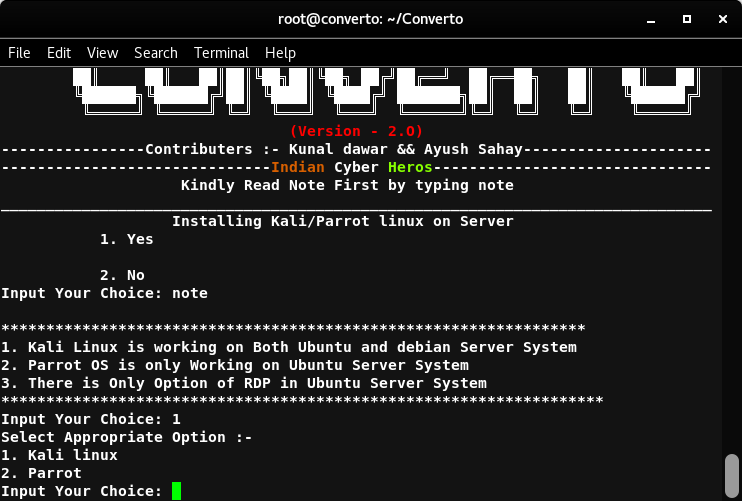
- Now choose the desired option.

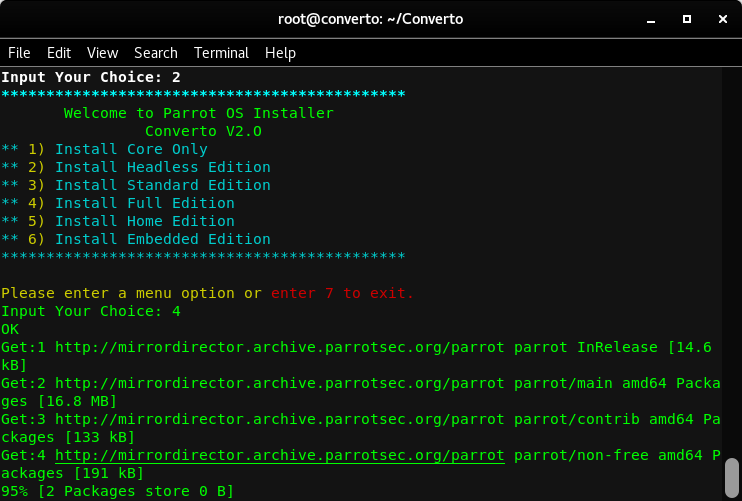
- I am Selecting 2 for Parrot OS.
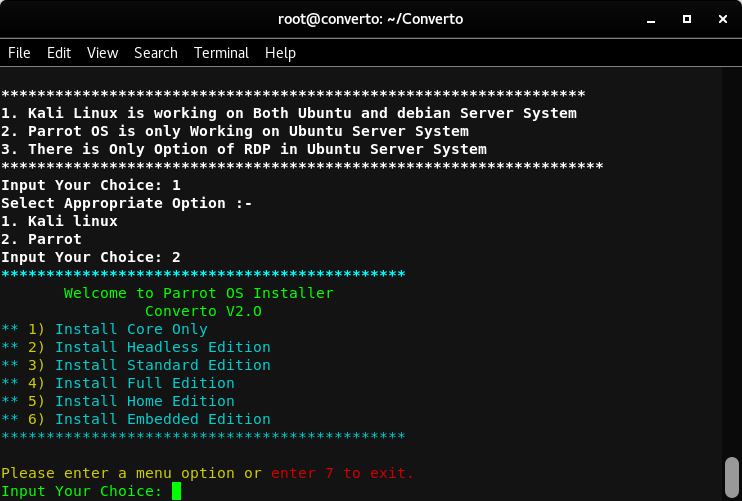
- Now choose the desired option.
- Install Core Only
- Install Headless Edition
- Install Standard Edition
- Install Full Edition
- Install Home Edition
- Install Embedded Edition
- Selecting 4 For Full installation
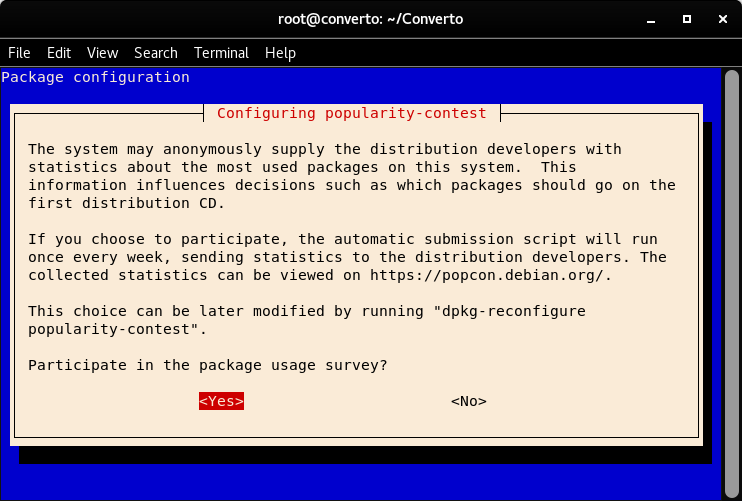
- Select Yes.(Necessary)
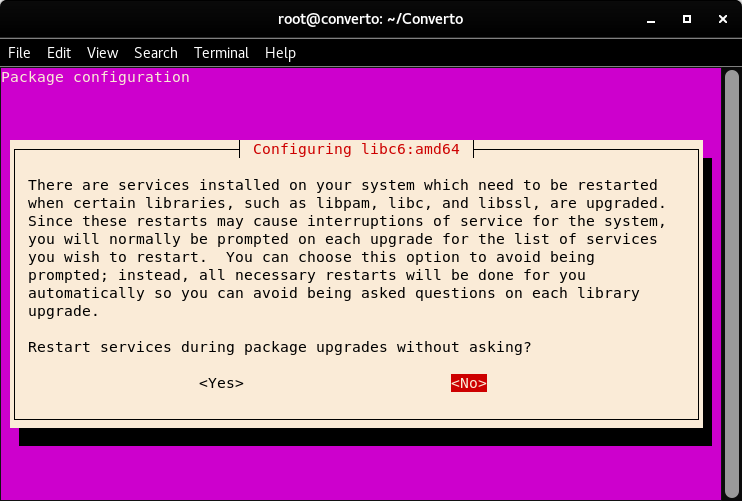
- Select Yes.(Necessary)
- Type Y and Press Enter.(Necessary)
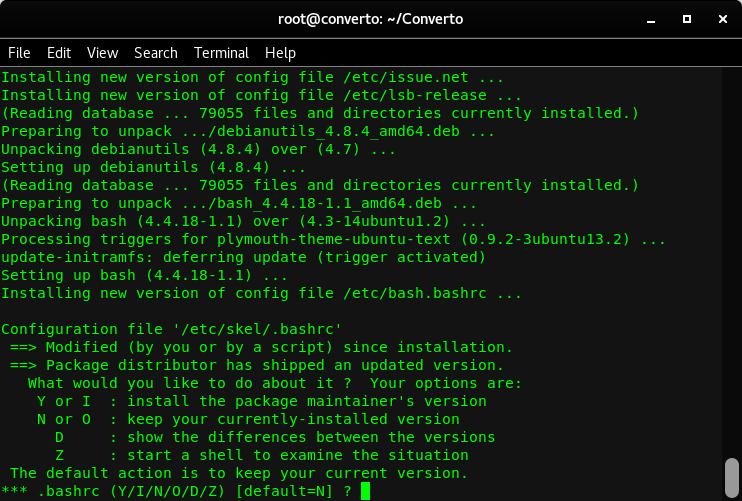
- Type Y and Press Enter.(Necessary)
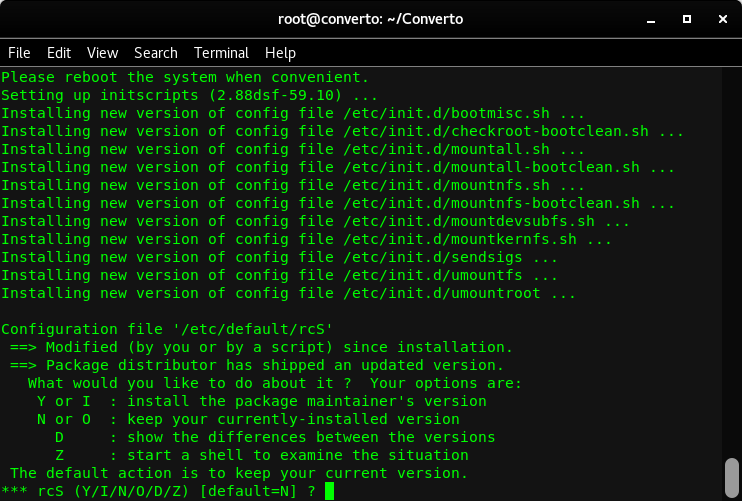
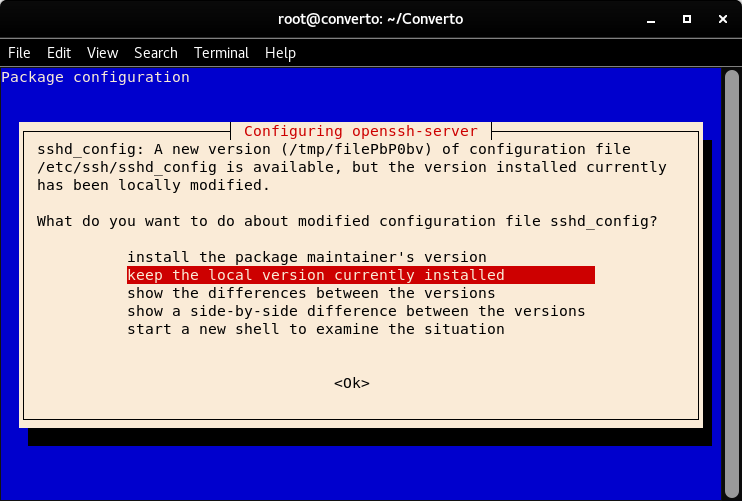
- Select install the package maintainer’s version.
Installation Done
Optional Step for installing VNC
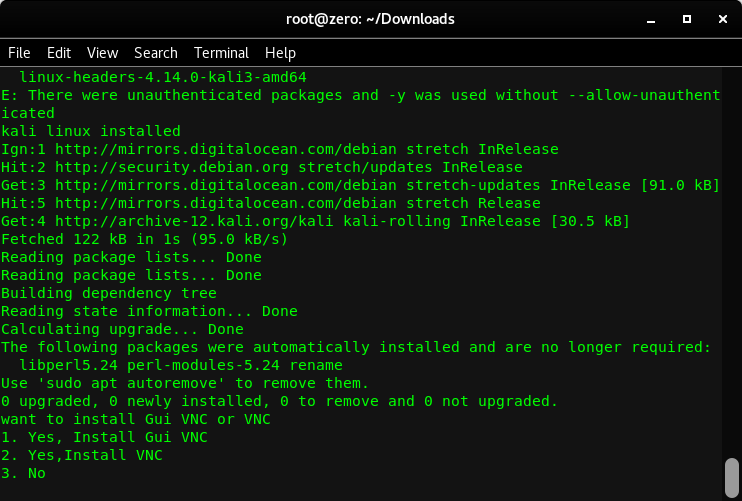
Steps
- Choose You VNC Type you want to install (Graphical VNC Recommended)
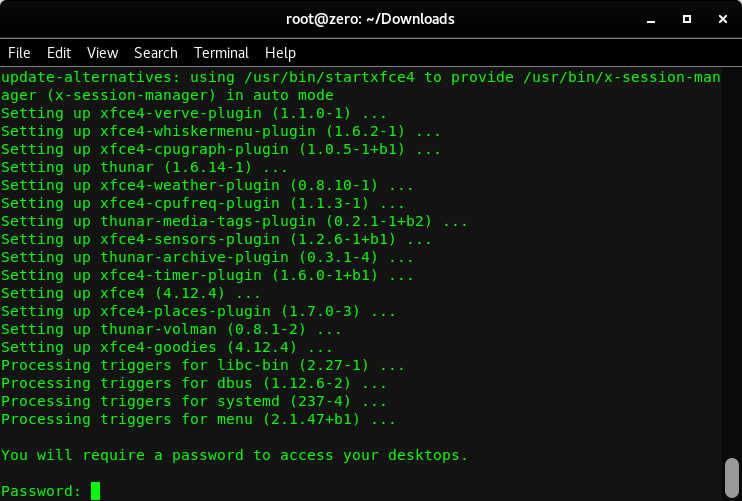
- Now Enter The Password for the VNC Connection and also re-enter the password for verification.
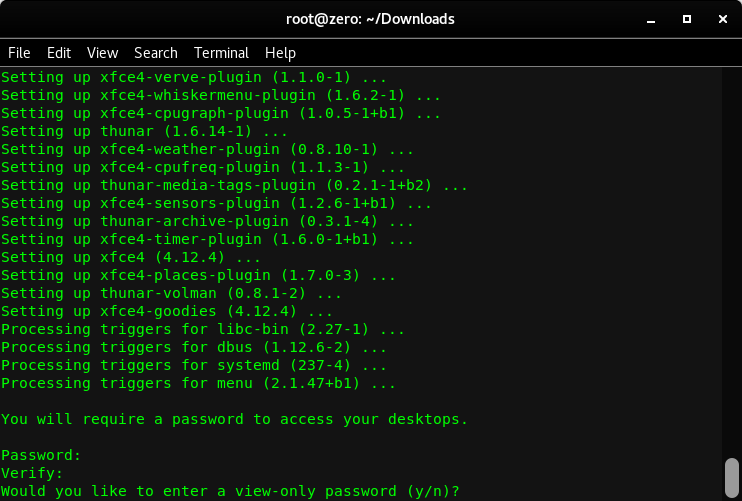
- Optional : Press Y if you want a view only password (In view only password, The one having the password will only have the permission to view the screen.)
Commands to Start and Stop The VNC Server
root@kali:~# vncserver
(It always start on Port 1)
root@kali:~# vncserver -kill :1
Example IP in VNC Viewer : 127.0.0.1:1


. It is tested on the following;)