


Whatsapp_Automation is a collection of APIs that interact with WhatsApp messenger running in an Android emulator, allowing developers to build projects that automate sending and receiving messages, adding new contacts and broadcasting messages multiple contacts.
The project uses Selinium, Appium, Python and Android Virtual Device Emulator.
Whatsapp_Automation Requirements
- java
- Android Studio & Android Emulator setup with latest Android version
- Appium Server to interact with Emulator
- python environment for running Flask
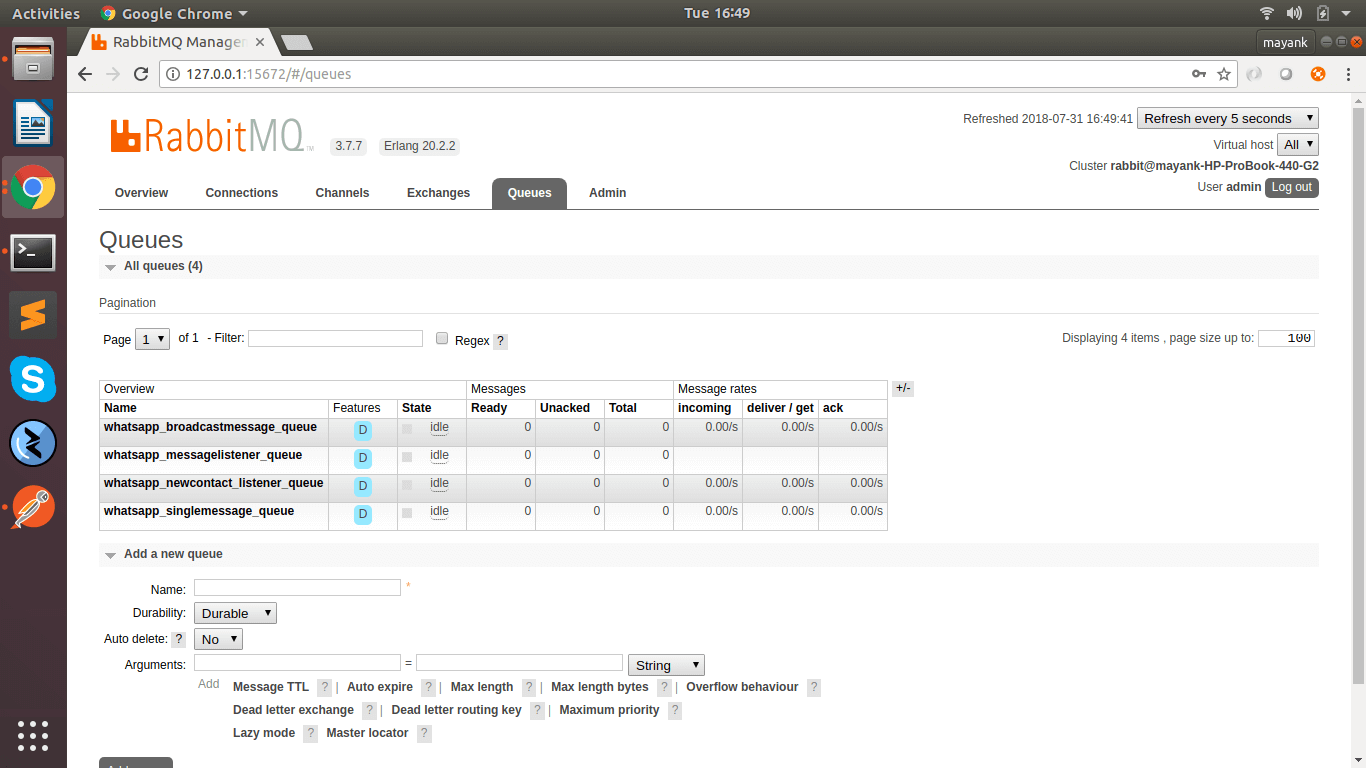
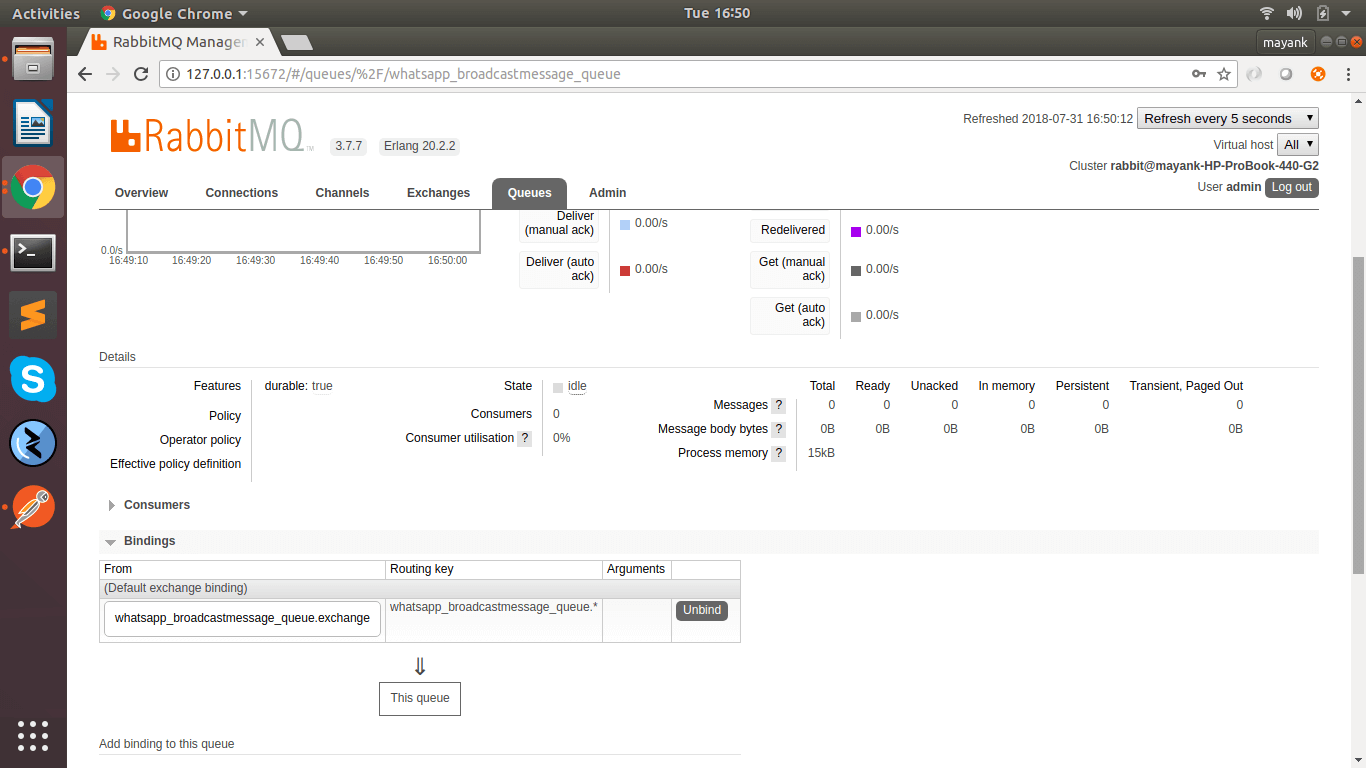
- RabbitMQ for maintaining queue system for incoming requests
Configuration
Edit configs/dev.cfg file with your mysql credentials, RabbitMQ credentials and Queue names created. Queue names needs to be created prior to running.
- Create Queue with appropriate name.
- Create Exchange with appropriate name.
- Bind Exchange with Queue and make routing key in format (queue_name.*) and exchange in format (queue_name.exchange)
Screenshot For Reference
Steps For Running
- Make a virtulenv for your project
- Once you have activated your virtualenv, install the dependencies with command (pip install -r whatsapp_pip_requirement.txt)
- Now you need to start the emulator first via command line (./Android/Sdk/emulator/emulator -avd pixel_1). pixel_1 is my avd name
- You need to start the appium server with default capabilities set as (“noReset”=”true”)
- Once both Emulator and Appium are running, Now you will run your main app.py file.
- Specify the environment by typing (export ENV=dev) in terminal, So that dev.cfg is read for configuration.
- Type (python app.py) to run main flask application
- Now similarly open new tabs, activate virtual env and export the dev environment. Then run (python single_message_producer.py). RabbitMQ consumer to listen to single message queue.
- ( python add_new_contact_producer.py) (python broadcast_message_producer.py) (python new_message_listener_producer.py)
Now at this point you have your Android Virtual Emulator Running, Appium running, Flask running, and rabbit MQ with workers running.
For the very first time you will need to setup Whatsapp manually with some Mobile Number with which it will be sending Messages. You need to verify OTP for Whatsapp and just set it up for use.
Now here are the Apis exposed by this project with which everything will be automated.
Adding contact in Google Contacts APP
- URL : http://127.0.0.1:5000/api/v0.1/add_new_contact
- TYPE : POST
- HEADERS :
- Content-Type:application/json
- BODY :
{“mobile_number”:”+91 XXXXX XXXXX”,”emulator_name”:”pixel_1″}
- RESPONSE :
{ “corr_id”: “767ae095-0066-49fb-b955-063286ceed1e”, “message”: “Singal received for Adding Contact”, “status”: “1” }
Sending Single Message via Whatsapp
- URL : http://127.0.0.1:5000/api/v0.1/send_single_message
- TYPE: POST
- HEADERS :
- Content-Type:application/json
- BODY :
{“mobile_number”:”+91 XXXXX XXXXX”,”emulator_name”:”pixel_1″,”message_body”:”Hi Mayank! How have you been, its been years since we talked.”}
- Response :
{ “corr_id”: “78f21f25-b781-4312-87e5-ebcd73e9b67e”, “message”: “Singal received for sending message”, “status”: “1” }
Sending Broadcast Message via Whatsapp
- URL : http://127.0.0.1:5000/api/v0.1/send_broadcast_message
- TYPE : POST
- HEADERS :
- Content-Type:application/json
- BODY :
{“mobile_number_list”:[“+91 XXXXX XXXXX”,”+91 XXXXX XXXXX”],”emulator_name”:”pixel_1″,”message_body”:”Hey guys! Enjoy the game!”}
- RESPONSE :
{ “corr_id”: “ea8894c1-8193-46de-8269-033060135791”, “message”: “Singal received for sending message”, “status”: “1” }
Listen New Incoming Message via Whatsapp
- URL : http://127.0.0.1:5000/api/v0.1/listen_new_message
- TYPE : POST
- HEADERS:
- Content-Type:application/json
- BODY :
{“special_code”:”e3gi8d2i8d2382@@#”}
- RESPONSE :
{ “corr_id”: “a2952cc1-0703-4362-9740-88ede47391cb”, “message”: “Singal received for listening message”, “status”: “1” }
Points to Remember:
- Android Version and Whatsapp Version needs to taken care because code is written specific to versions. you can go to workers folder and edit files accordingly to change your platform version and activity class. Like Current Code has: desired_caps[‘platformName’] = ‘Android’ desired_caps[‘platformVersion’] = ‘9’ desired_caps[‘deviceName’] = ’emulator-5554′ desired_caps[‘appPackage’] = ‘com.whatsapp’ desired_caps[‘appActivity’] = ‘.Main’
Demo
![]()


.png "Live-Forensicator : Powershell Script To Aid Incidence Response And Live Forensics")

